
How to Set Up Your Google Business Profile
When someone searches for a place to eat nearby, Google is usually the first thing they open. Your Google Business Profile is the box that shows up on the right side of search results and on Google Maps. It displays your hours, phone number, photos, reviews, and a link to reserve a table.
If you don't have one set up, you're invisible to people searching for restaurants in your area. If you have one but it's incomplete, you're leaving a bad first impression.
This guide walks you through setting up your profile from scratch, filling it out completely, and connecting it to your bavoli booking page so guests can reserve directly from Google.
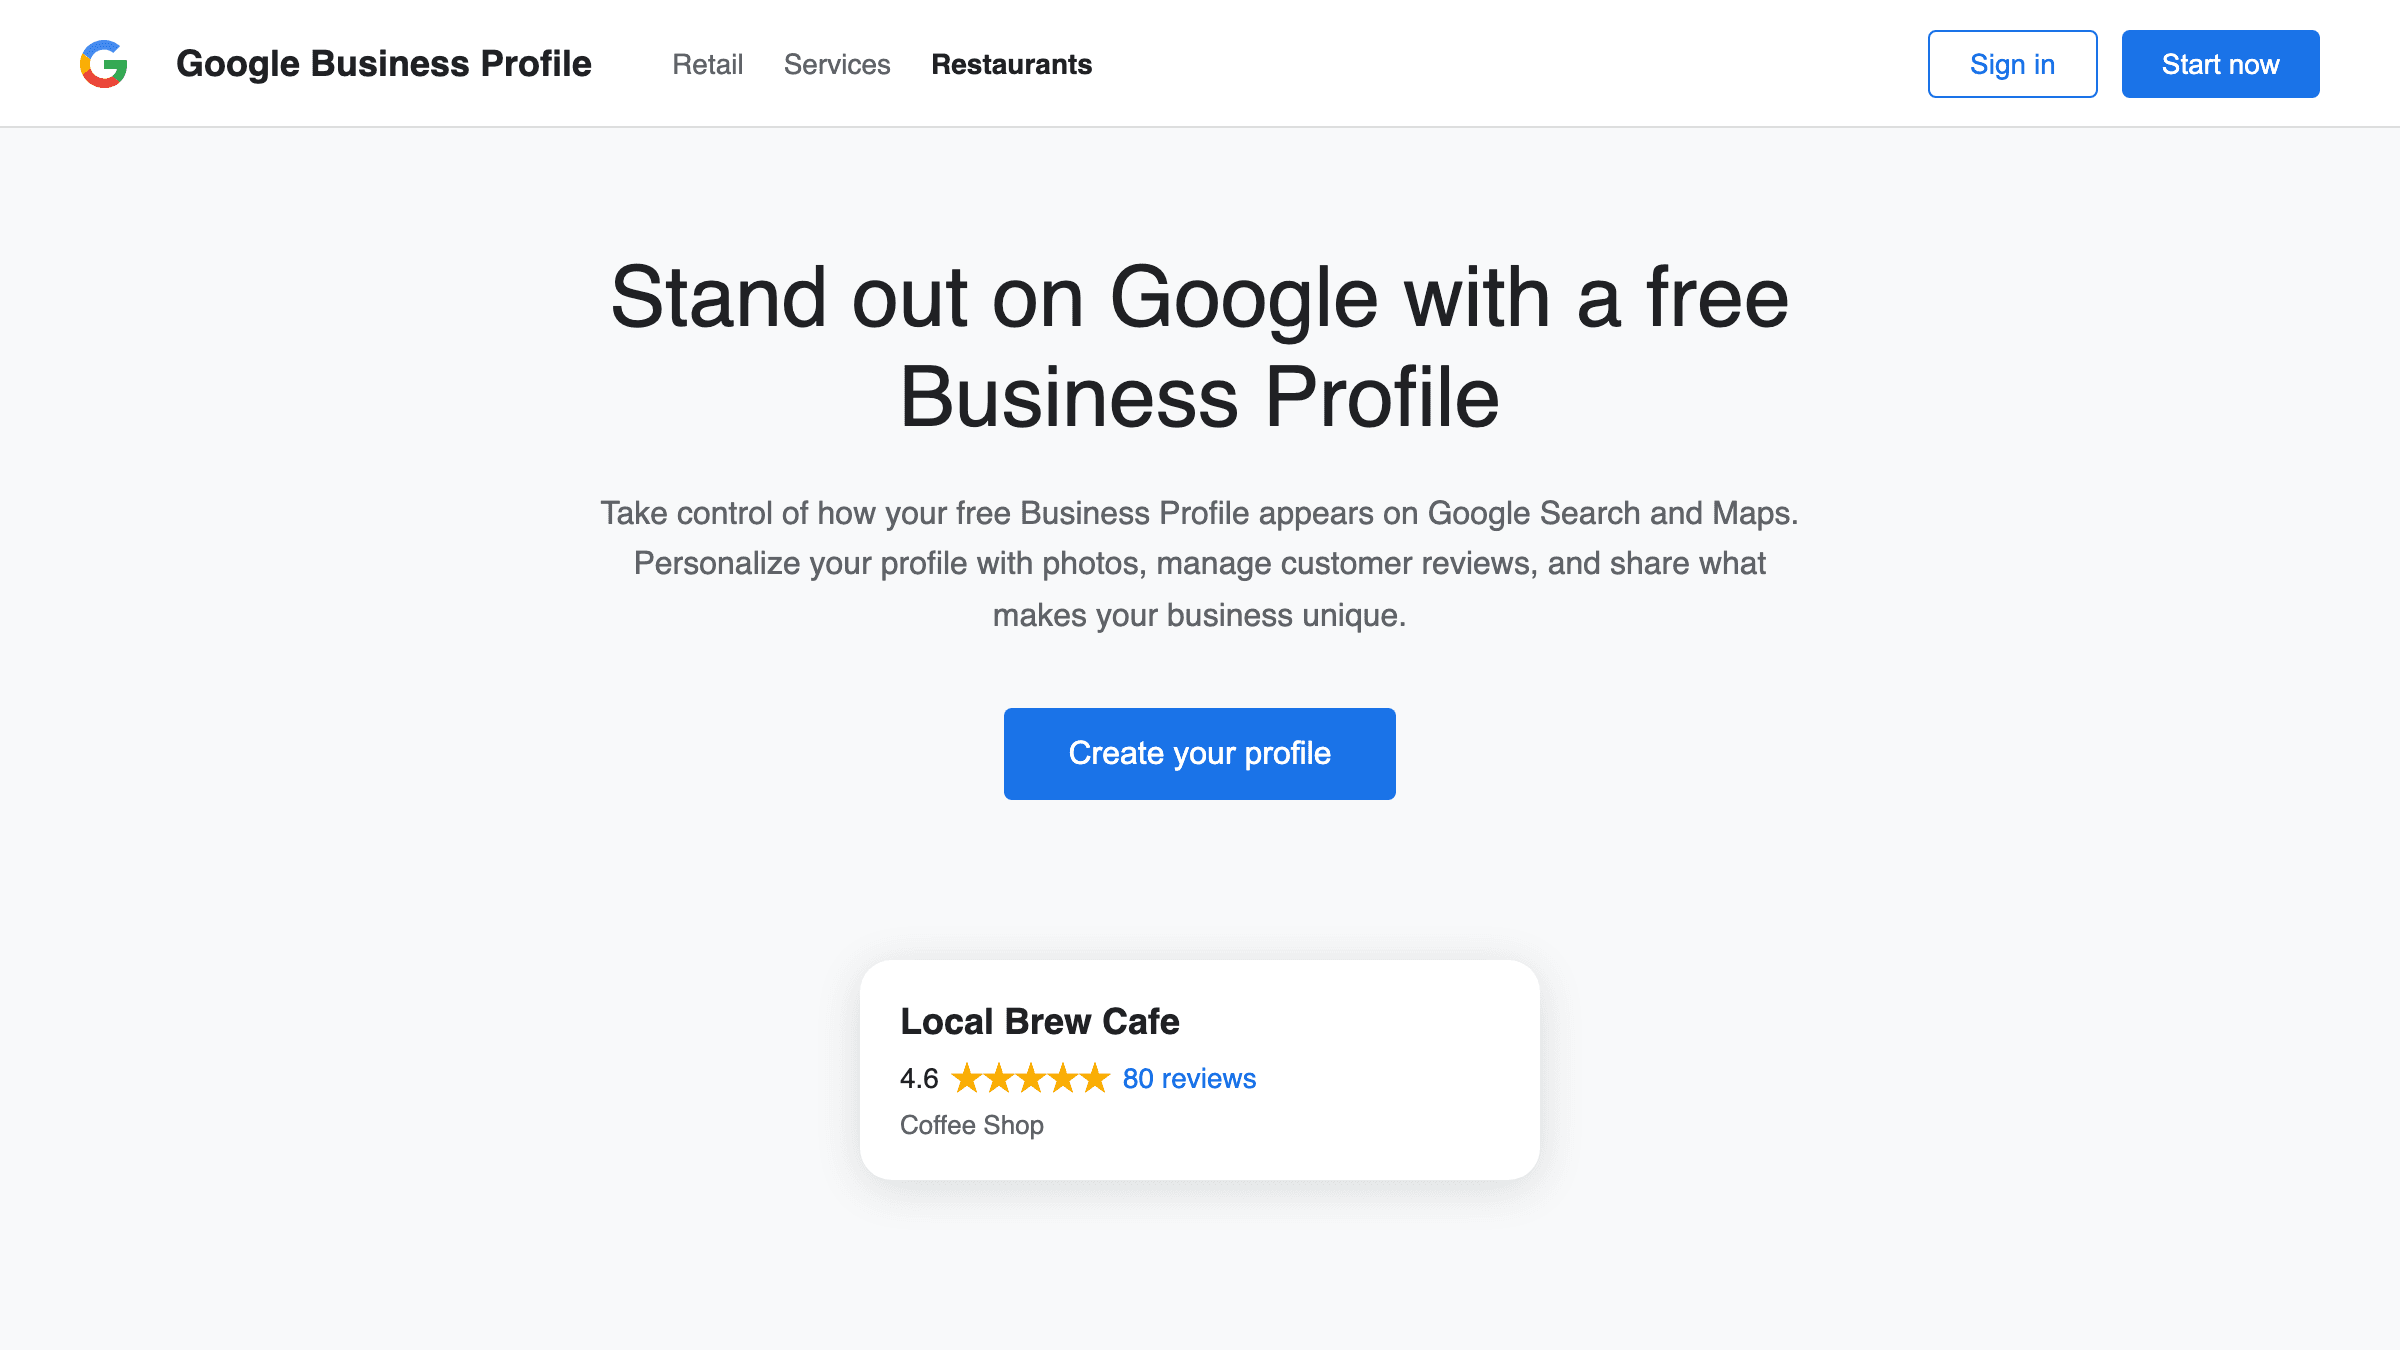
Why this matters for your restaurant
Over 80% of diners search for restaurants on Google before deciding where to eat. Your Google Business Profile is often the very first thing they see. A complete profile with good photos, accurate hours, and recent reviews builds trust before a guest ever walks through your door.
Here's what a strong profile does for you:
- Shows up when people search "restaurants near me" on their phone
- Displays your hours, location, and contact info in one place
- Lets guests call you, get directions, or reserve a table with one tap
- Builds credibility through reviews and photos
A half-finished profile with missing hours or no photos sends the wrong signal. It tells guests you might be closed or that you don't pay attention to details. Taking 30 minutes to set this up correctly can bring in new guests every week.
Step 1: Claim or create your listing
Your restaurant may already have a listing on Google that was automatically generated. You need to claim it so you can control what it says.
- Go to business.google.com on your computer or phone.
- Sign in with a Google account. If you don't have one, create a free account first.
- Click Manage now or Add your business.
- Type your restaurant's name in the search box.
- If your restaurant appears in the dropdown, select it. This means Google already has a listing for you and you just need to claim it.
- If your restaurant does not appear, click Add your business to Google and enter your restaurant name.
- Choose the category Restaurant. You can add more specific categories later (like "Italian restaurant" or "Sushi restaurant").
- Enter your full street address.
- Google will ask you to verify that you own this business. The most common method is a postcard mailed to your restaurant address with a verification code. This takes about 5 business days.
- When the postcard arrives, sign back into business.google.com and enter the code.
Once verified, you have full control over your listing.
Tip: Some restaurants can verify by phone call or email instead of a postcard. Google will show you the options available for your business.
Step 2: Fill out every section of your profile
An incomplete profile hurts your search ranking. Google favors businesses that provide detailed information. Go through each section below and fill it out completely.
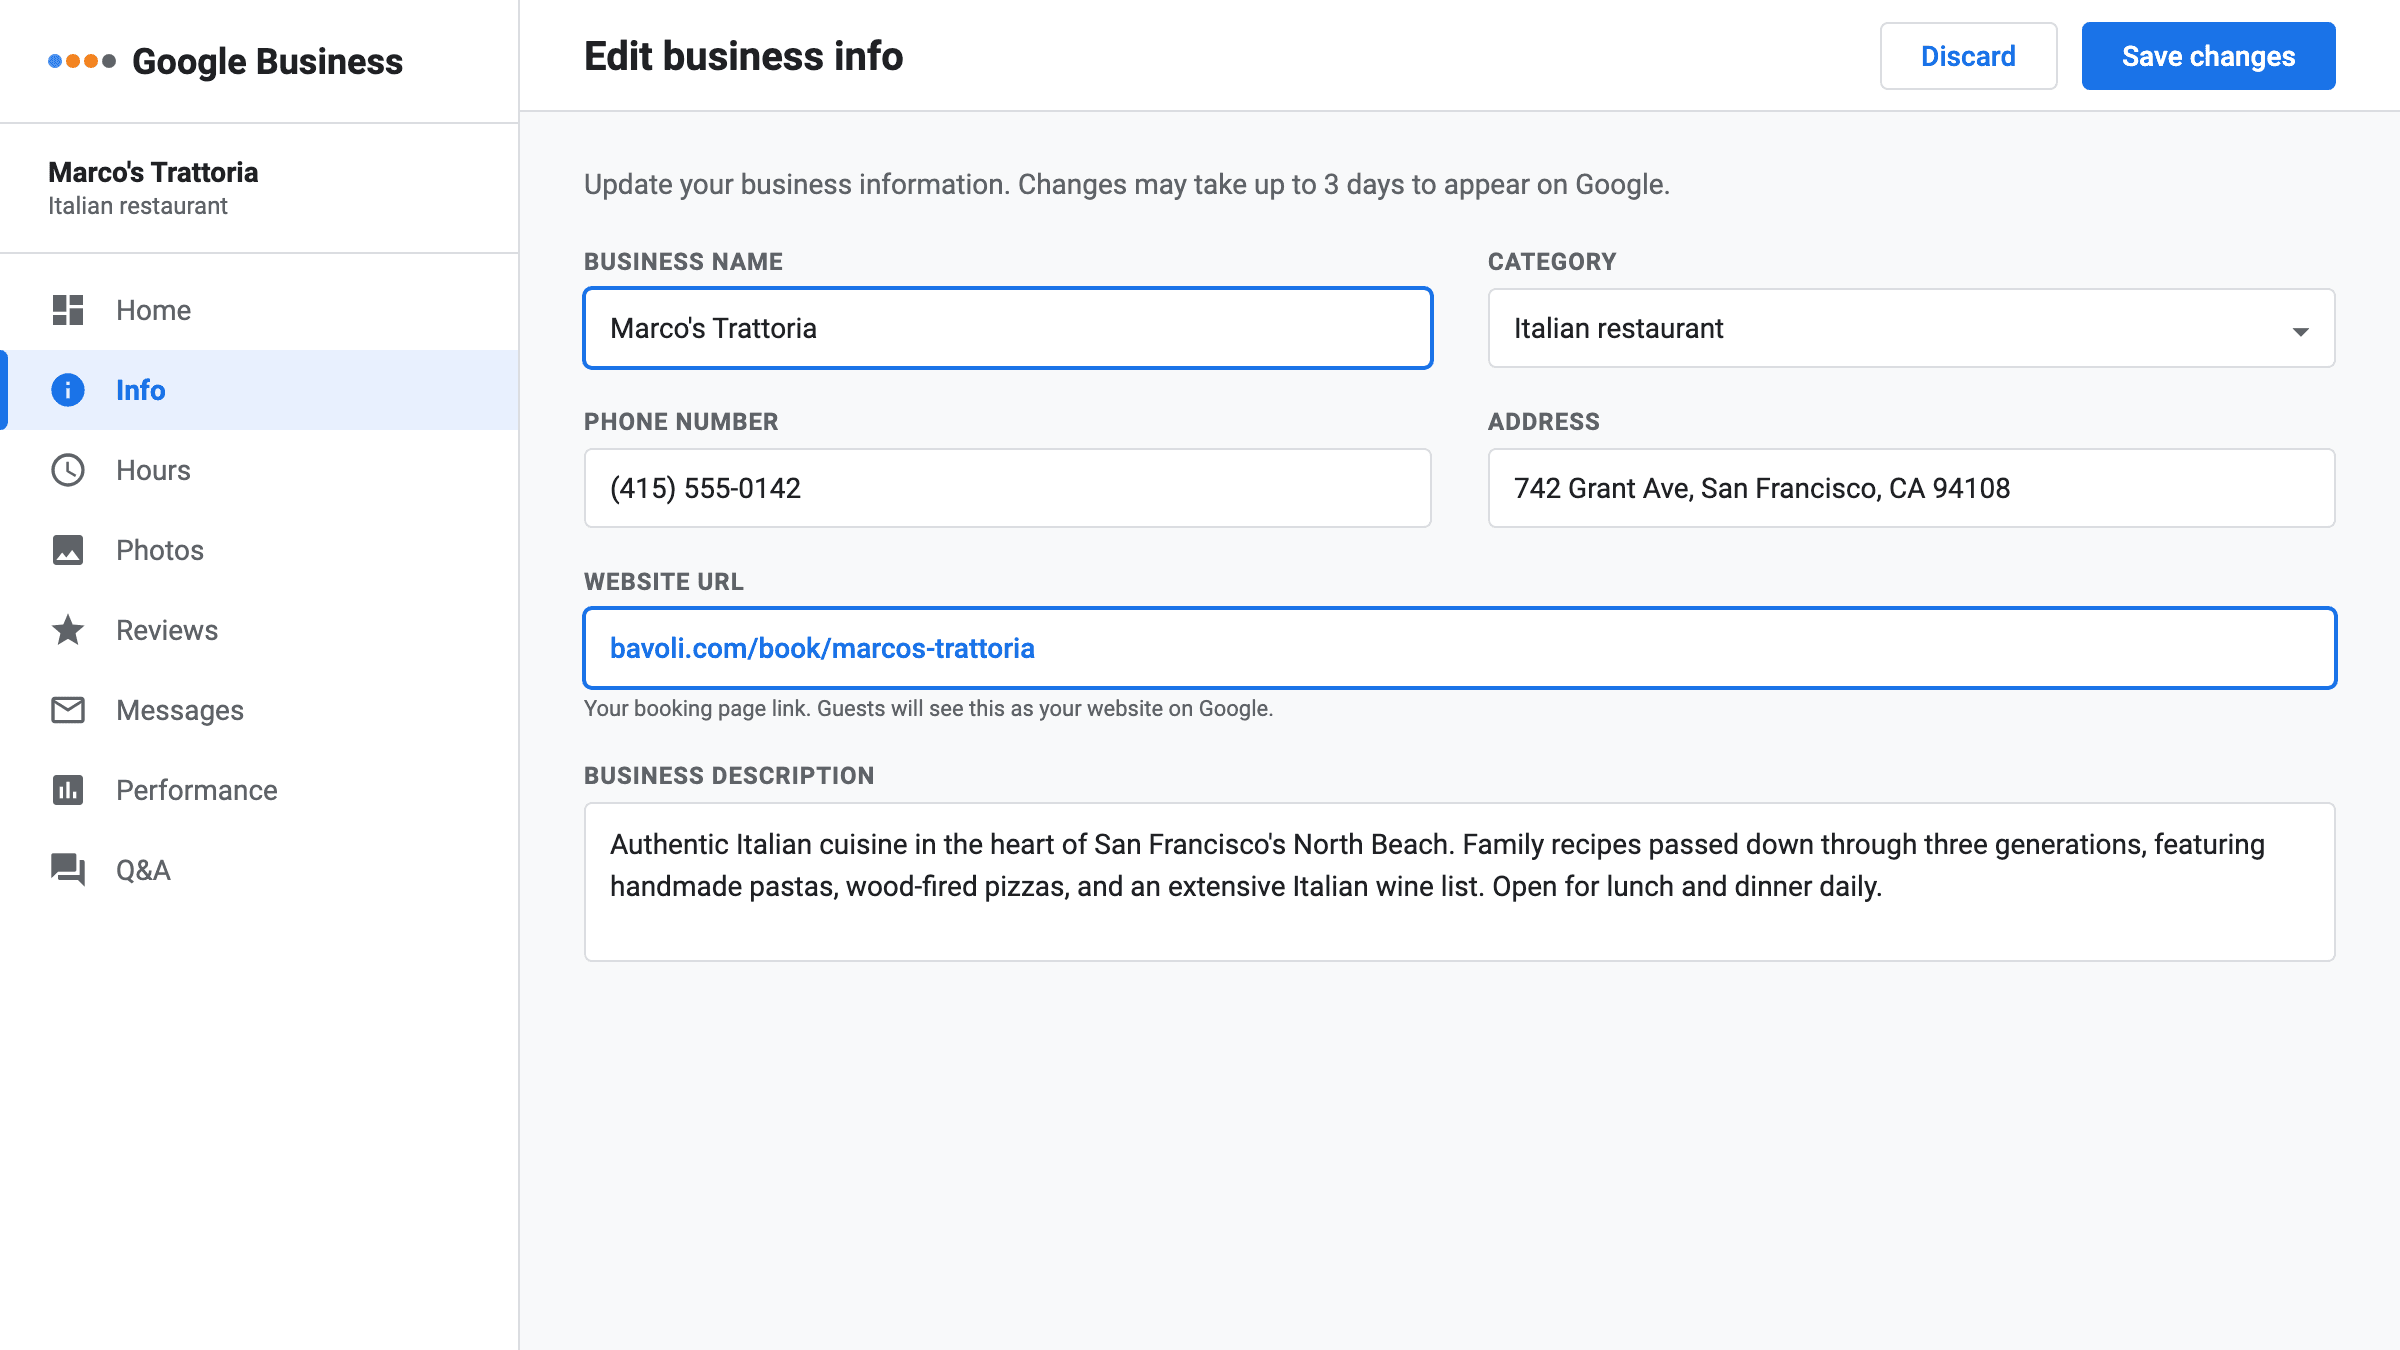
Business name
Use your real restaurant name exactly as it appears on your sign. Don't stuff keywords in here (like "Best Italian Food Downtown"). Google can suspend listings that do this.
Address and service area
Confirm your street address is correct and that the pin on the map is in the right spot. If the pin is off, drag it to the correct location.
Phone number
Use your main reservation or front desk number. Make sure someone answers this line during business hours.
Hours of operation
- Click Hours in your profile editor.
- Set your opening and closing times for each day of the week.
- If you're closed on certain days, mark those as Closed.
- Add Special hours for holidays, private events, or seasonal closures. Update these at least a week before any holiday.
Getting your hours wrong is one of the fastest ways to frustrate a potential guest. If someone drives to your restaurant and finds the door locked because Google said you were open, you've lost that customer.
Website
Enter your bavoli booking page URL (bavoli.com/book/your-restaurant-name). This is the page where guests can see your availability and book a table.
Business description
You get 750 characters. Use them. Describe what makes your restaurant worth visiting. Mention your cuisine, the atmosphere, and anything that sets you apart. Write in plain language as if you're telling a friend about your place.
Good example: "Family-owned Thai restaurant in downtown Portland since 2018. We make everything from scratch using recipes passed down from our grandmother. Outdoor patio seating available spring through fall. Walk-ins welcome, reservations recommended for dinner."
Categories
Your primary category should be "Restaurant" or a more specific type like "Mexican restaurant." You can add secondary categories too. If you have a bar area, add "Bar." If you do catering, add "Caterer."
Attributes
Google lets you add attributes like "outdoor seating," "wheelchair accessible," "takes reservations," and "good for groups." Check every attribute that applies. These show up as icons on your listing and help guests find what they're looking for.
Step 3: Add photos that attract diners
Listings with photos get 42% more requests for directions and 35% more clicks to their website, according to Google. Your photos are doing real work.
Here's what to upload:
- Your best dishes (3 to 5 photos). Shoot in natural light near a window. Avoid flash. Show the food on the plate as it's served to guests.
- Your dining room (2 to 3 photos). Capture the atmosphere. If your space is cozy, show that. If it's lively, show that.
- The exterior of your building (1 to 2 photos). This helps guests find you. Include your sign if you have one.
- Your team (1 photo). A photo of your staff shows there are real people behind the food.
Avoid blurry, dark, or cluttered photos. You don't need a professional photographer. A recent smartphone in good lighting will do the job. Take photos during the day when natural light is available.
Update your photos at least once a quarter. Seasonal dishes, new decor, or special events are all good reasons to add fresh images.
Step 4: Set up the "Reserve a table" link
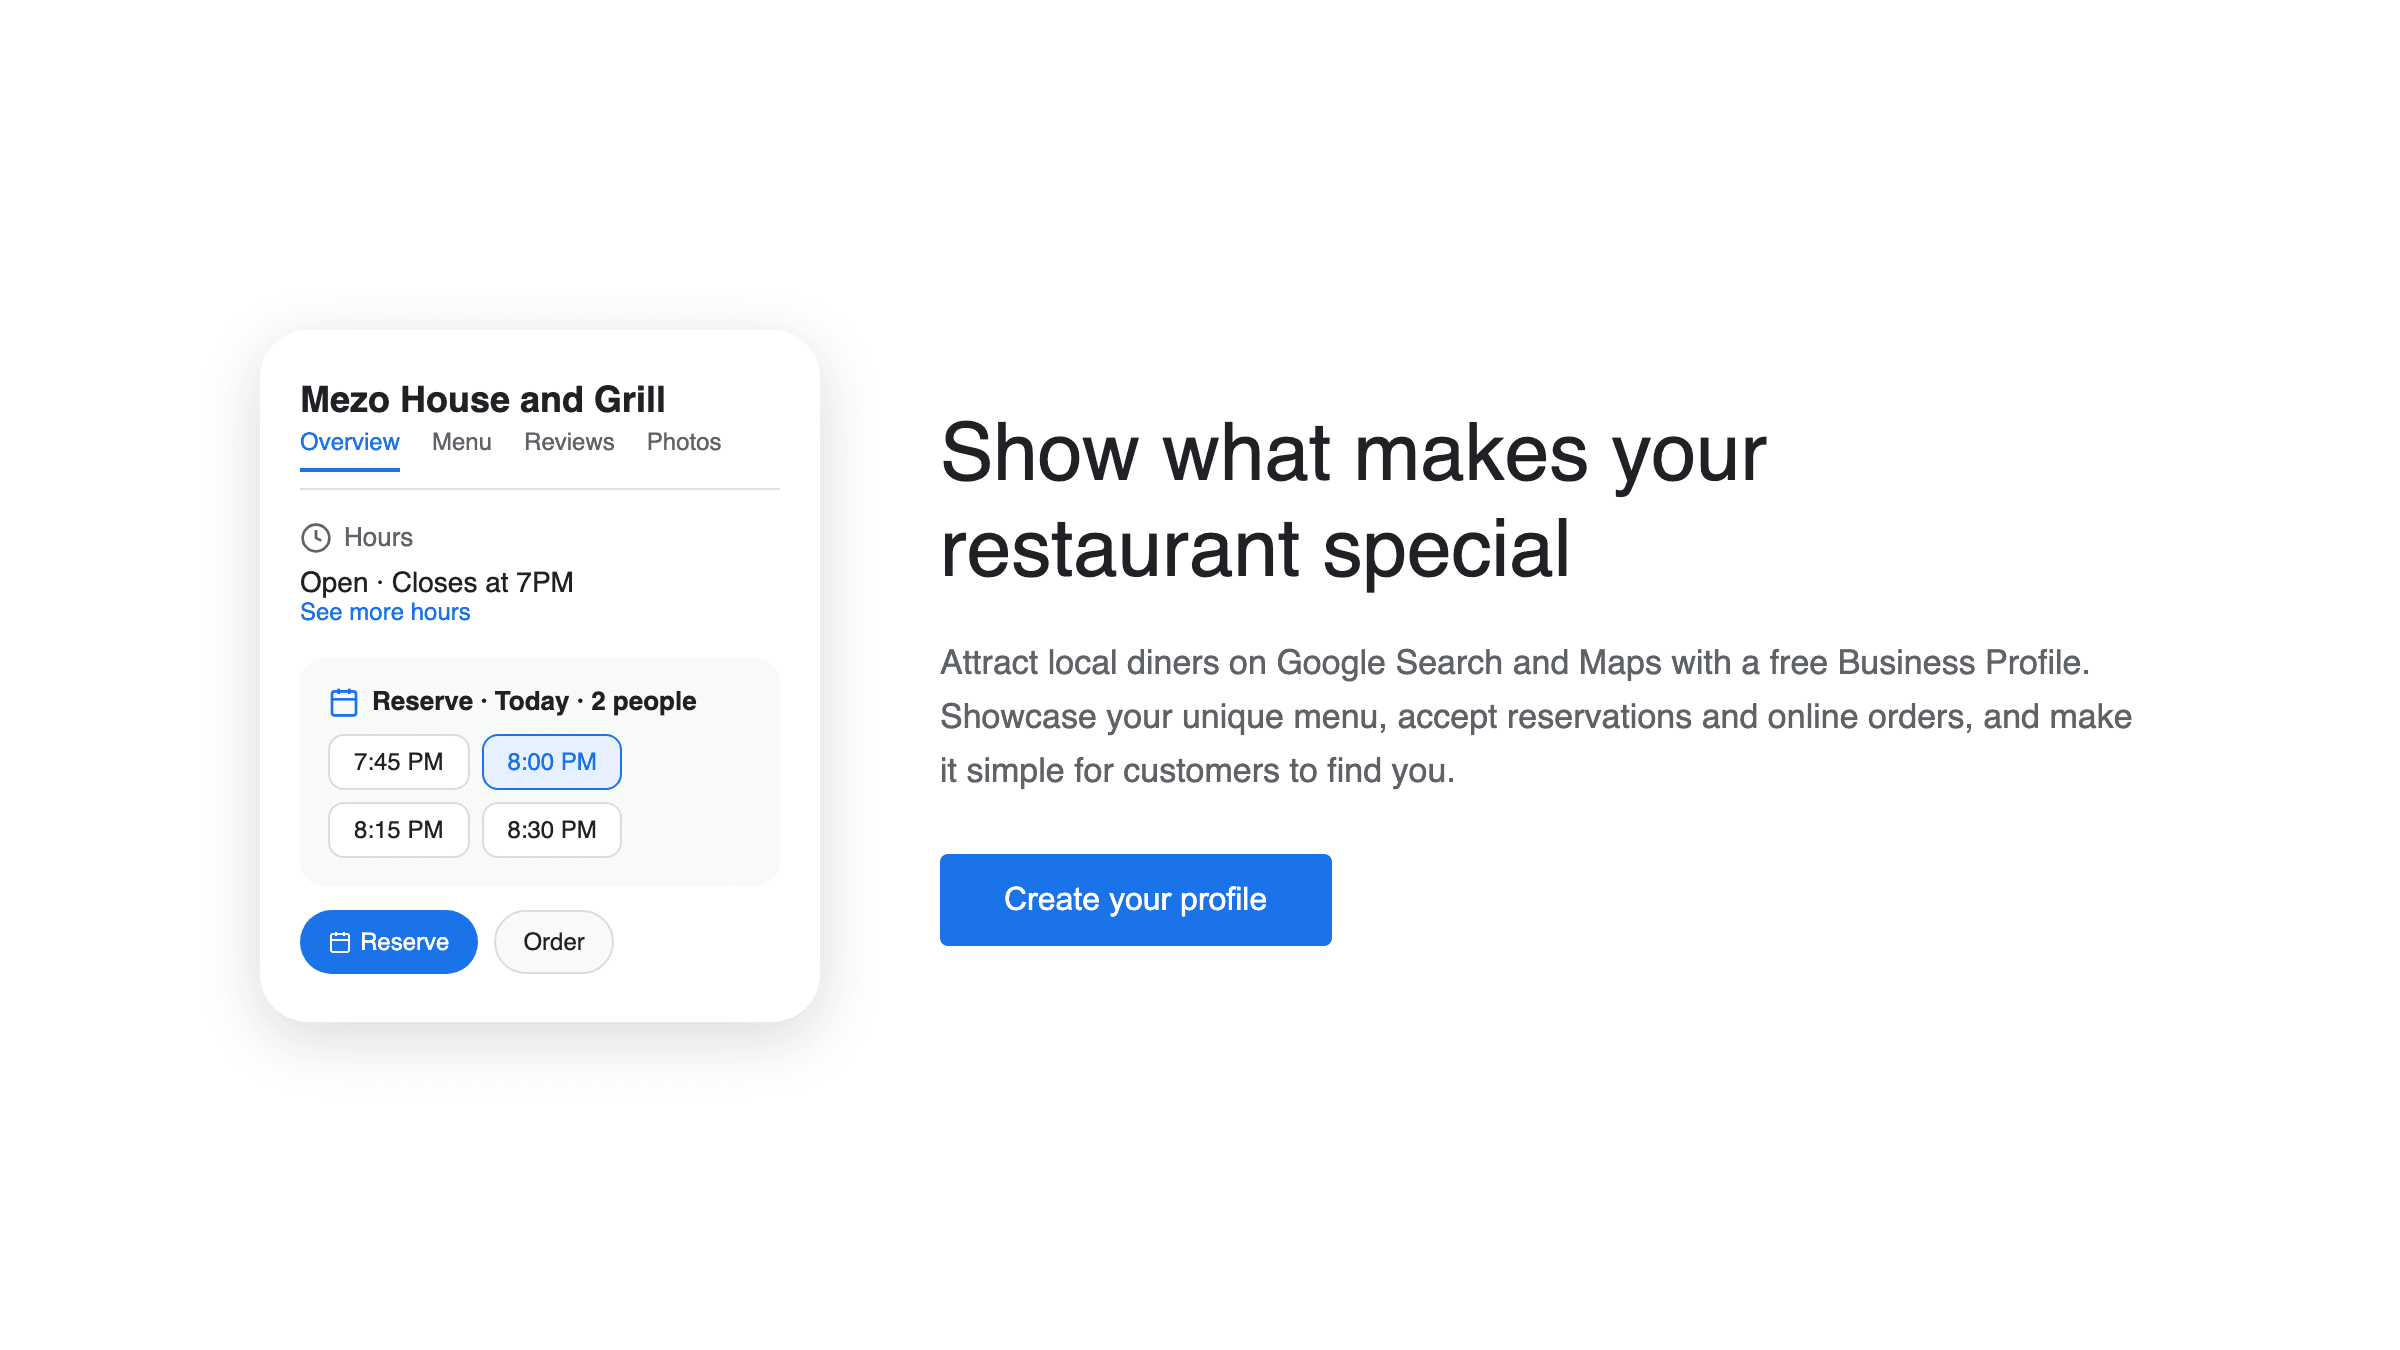
This is where your Google profile connects directly to your bavoli booking page. When guests see your listing, they'll see a "Reserve a table" button that takes them straight to your availability.
- Sign in to your Google Business Profile at business.google.com.
- Select your restaurant.
- In the left menu, look for Bookings or Reserve with Google options. If you see a direct booking link option, proceed to step 4. If you see third-party booking providers listed, skip to step 5.
- If you can add a direct reservation URL: paste your bavoli booking page link (it looks like bavoli.com/book/your-restaurant-name).
- If direct links aren't available in your region yet: go to Info in the left menu, find the Appointment links or Menu/Services links section, and add your bavoli URL there. This creates a clickable link on your profile.
- Test it by searching for your restaurant on Google and clicking the reservation link.
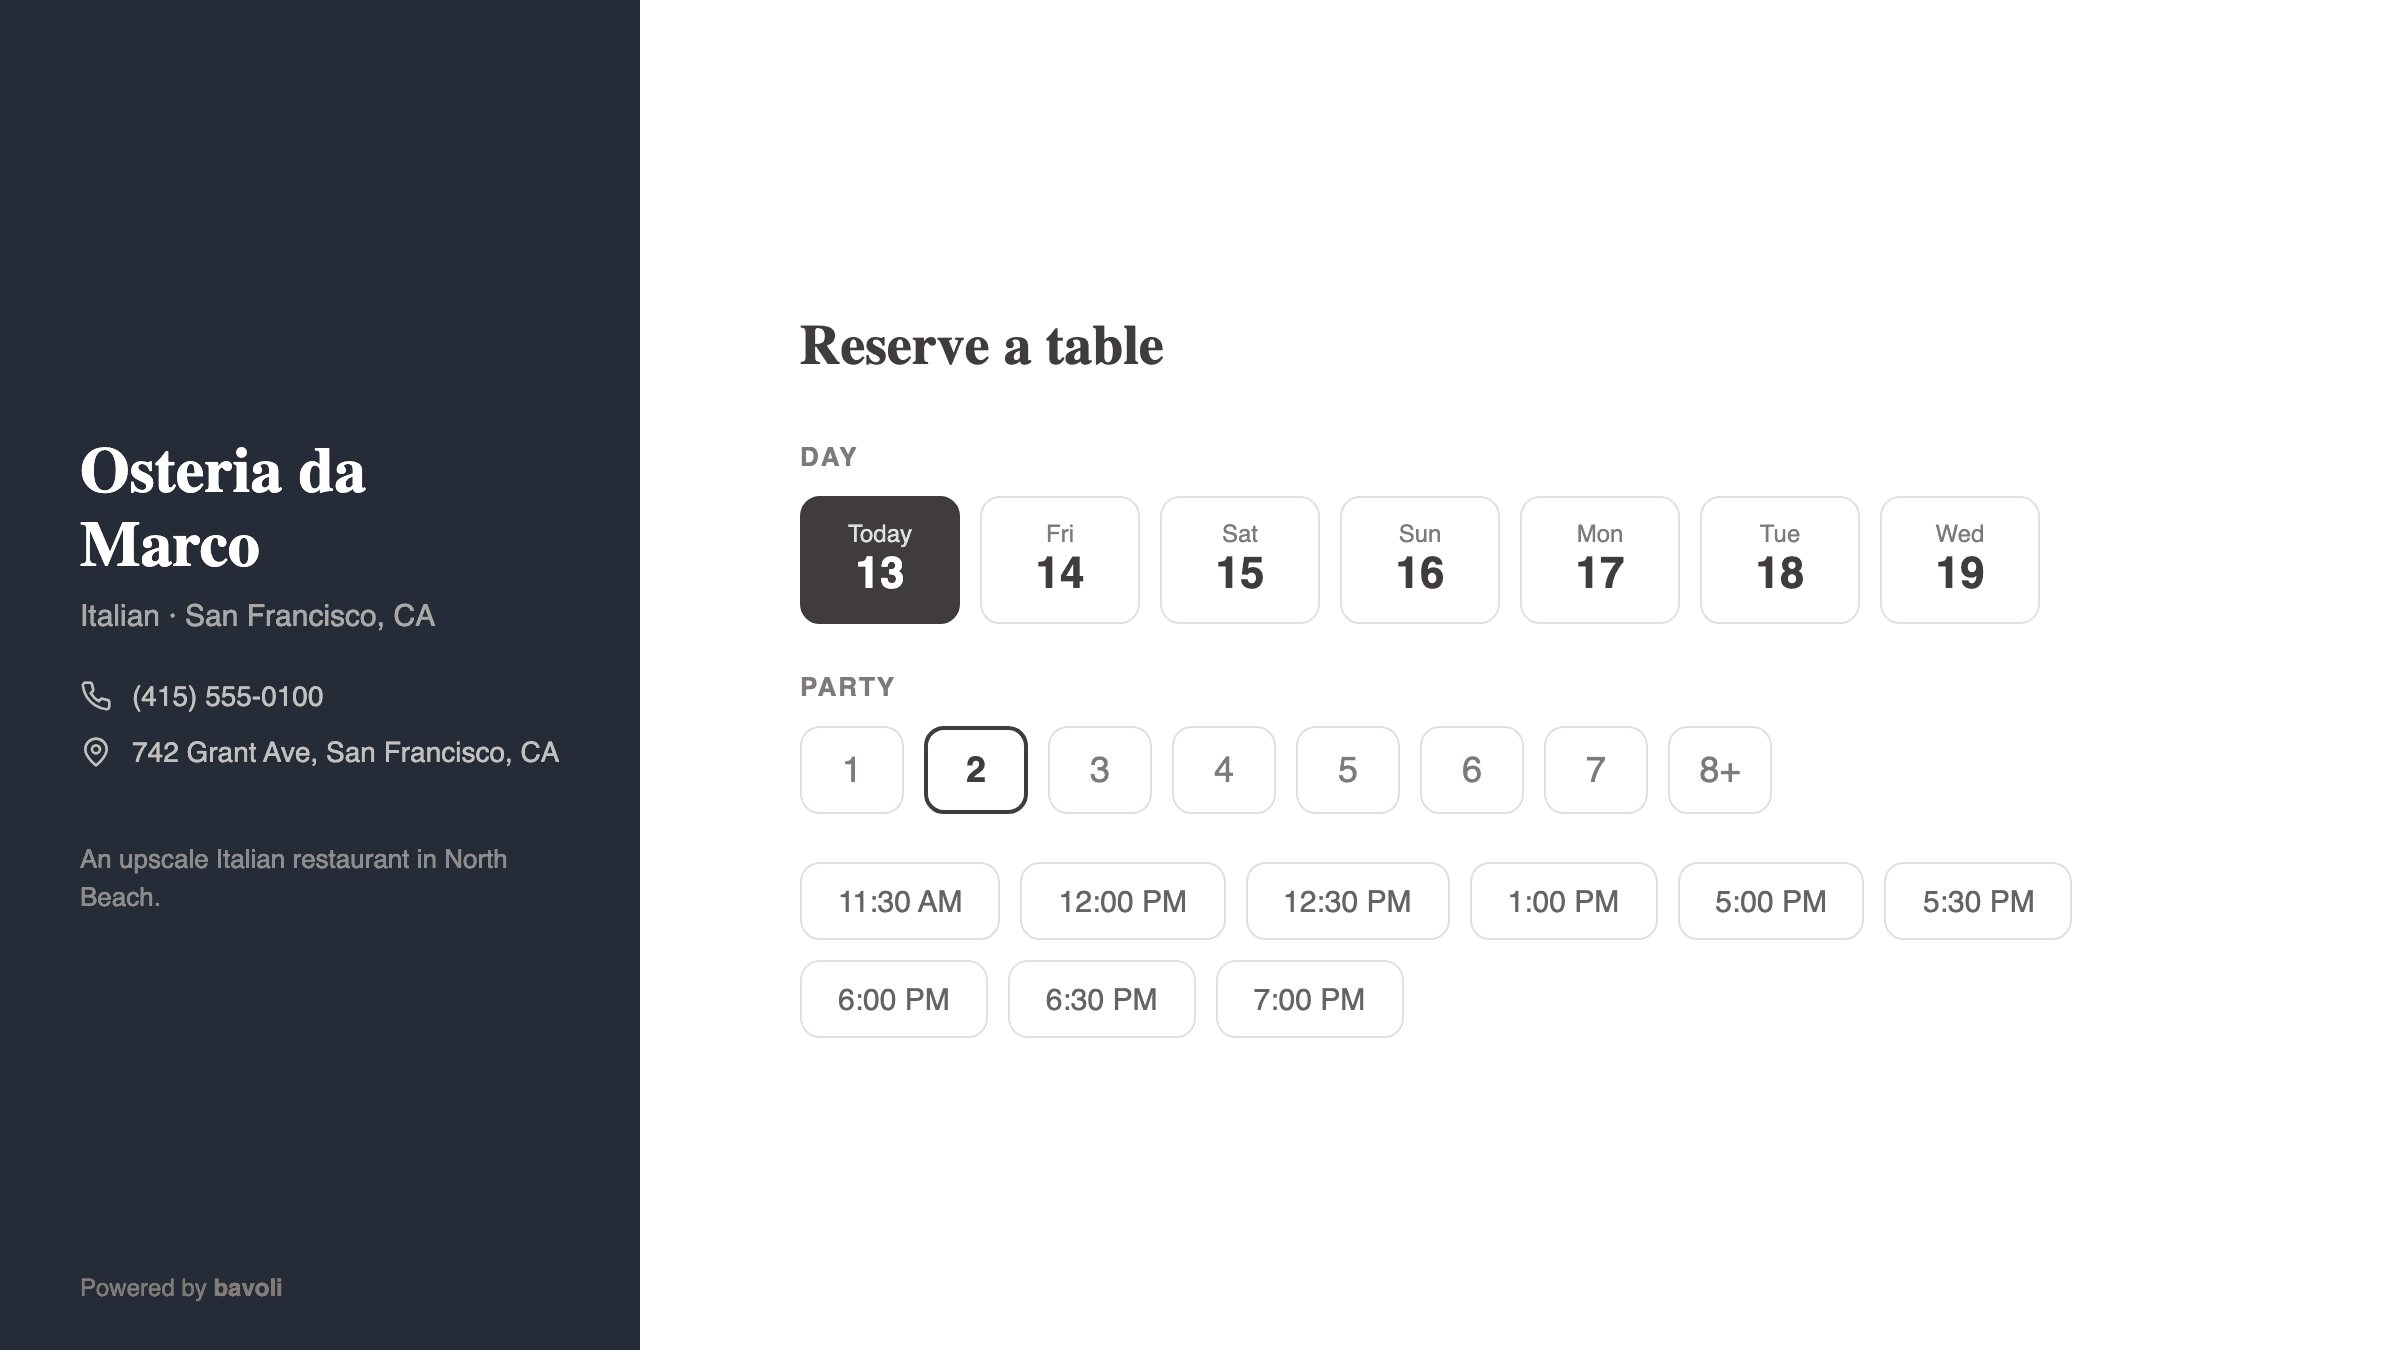
Once this is set up, anyone who finds you on Google can book a table in about 30 seconds without calling.
Tip: Make sure your hours in Google match your hours in bavoli. If Google says you're open until 10 PM but your bavoli availability stops at 9 PM, guests will get confused.
Step 5: Respond to reviews
Reviews are one of the biggest factors in how Google ranks your listing. More importantly, they're how new guests decide whether to try your restaurant.
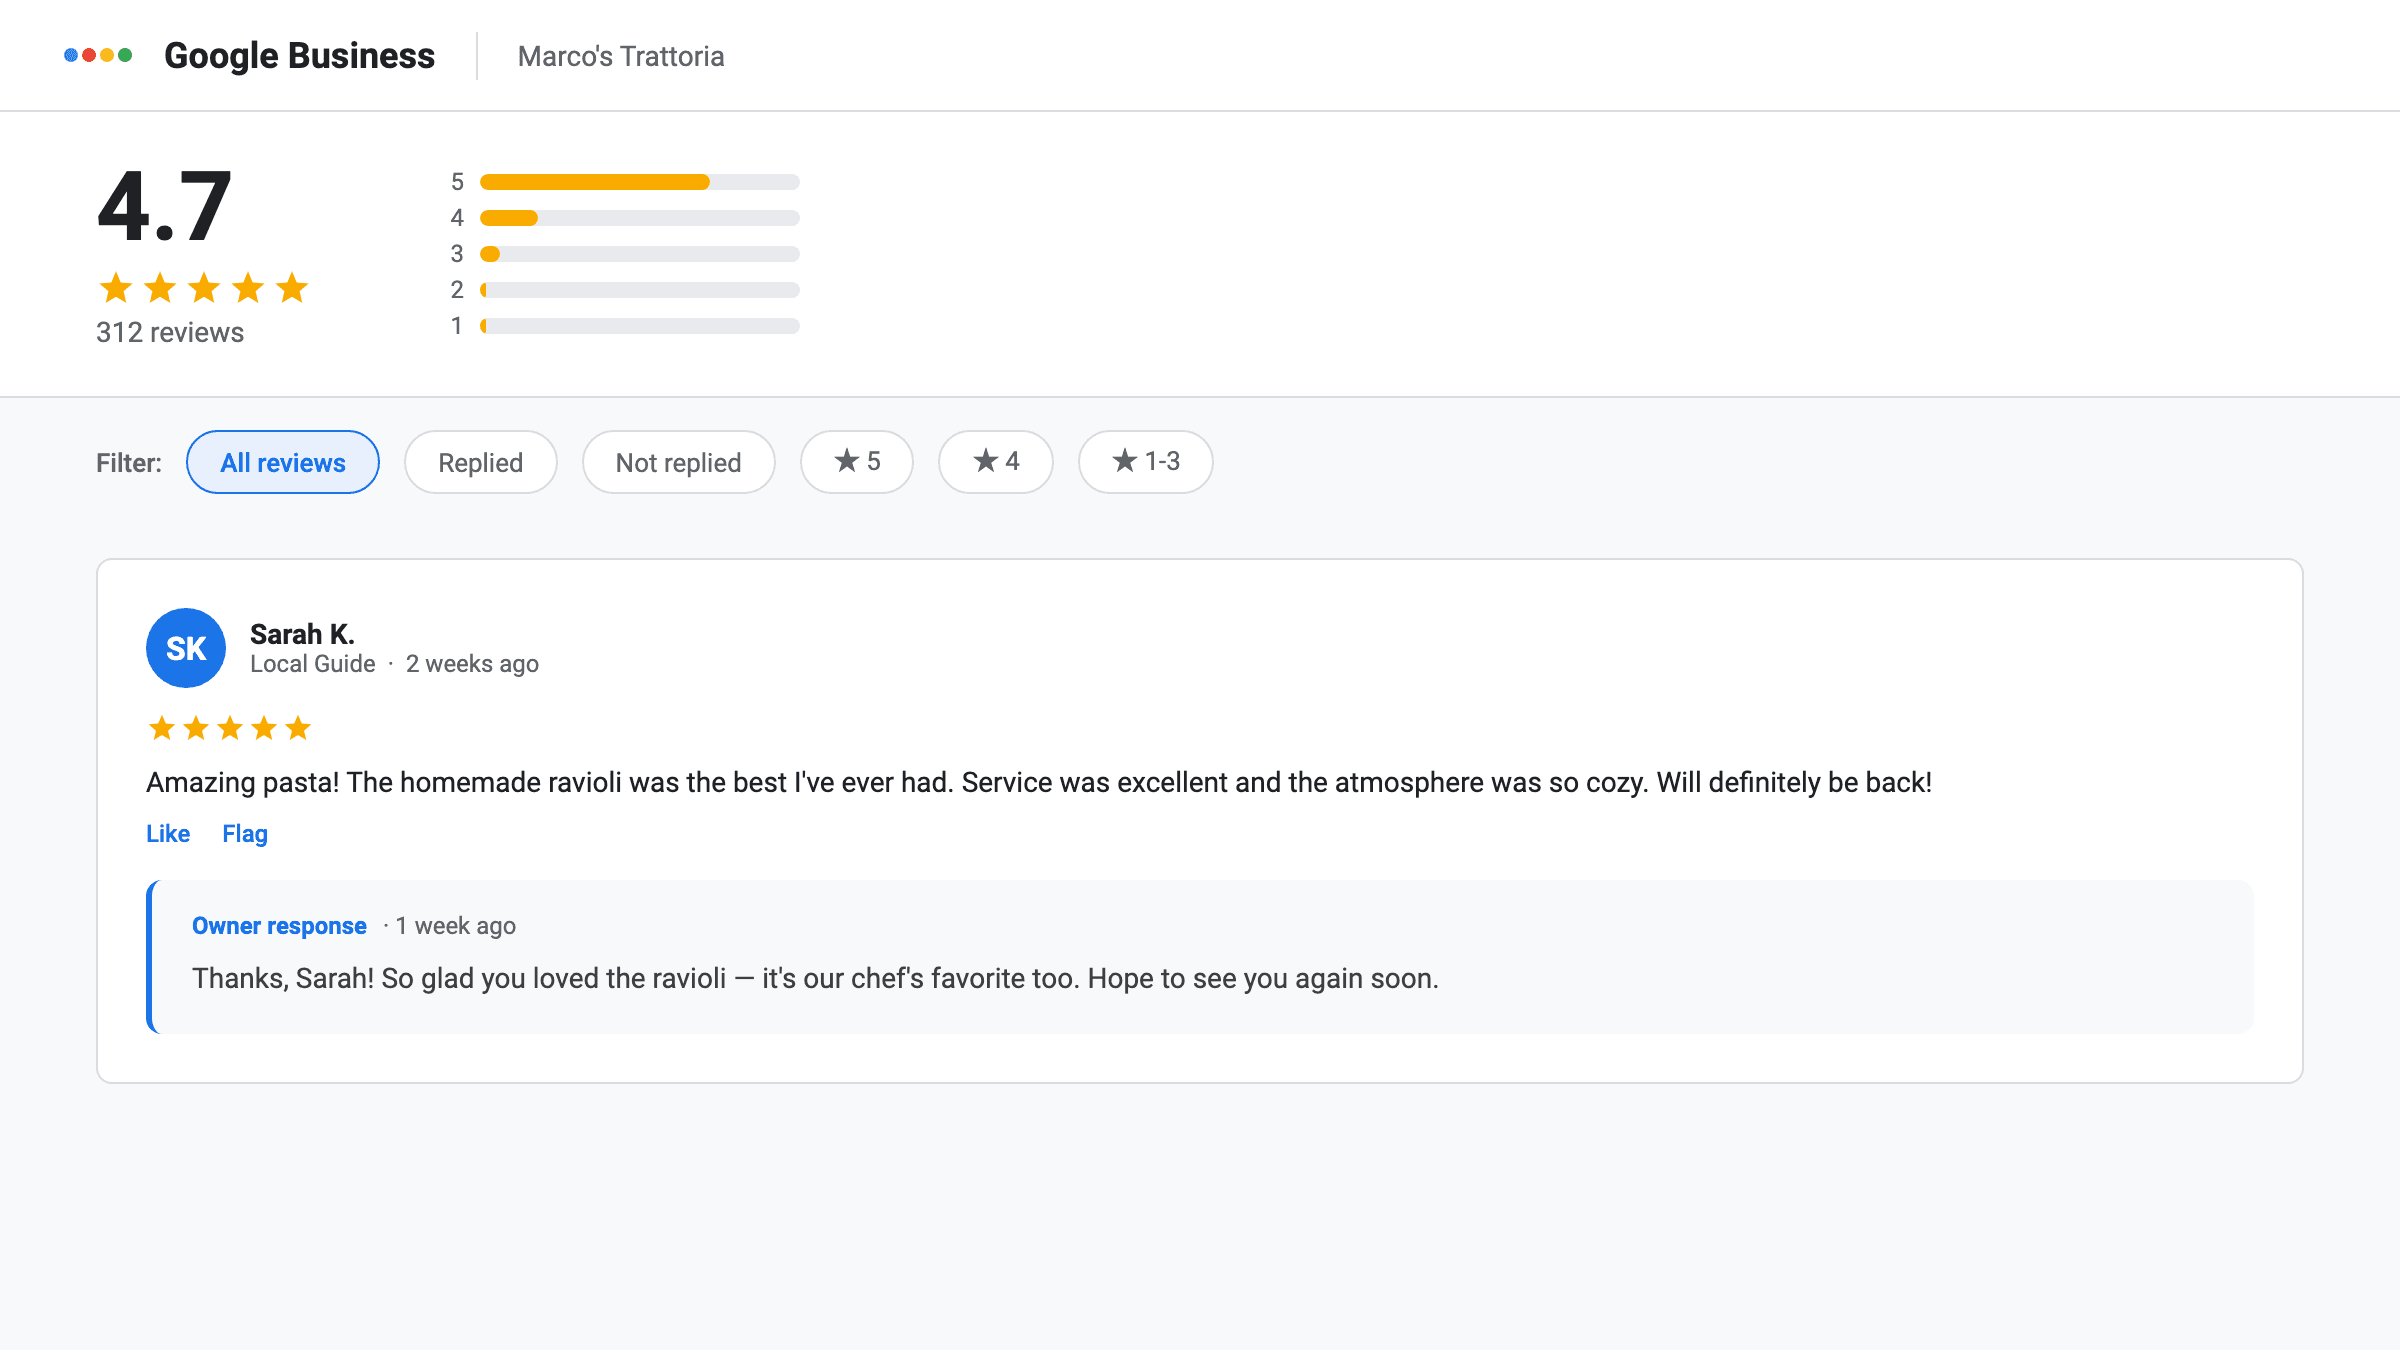
Responding to positive reviews:
- Thank the guest by name if they left one.
- Keep it short and genuine. One or two sentences is enough.
- Example: "Thanks, Maria! Glad you enjoyed the lasagna. Hope to see you again soon."
Responding to negative reviews:
- Stay calm. Never argue or get defensive in a public reply.
- Apologize briefly and offer to make it right.
- Move the conversation offline by providing a phone number or email.
- Example: "Sorry to hear about your experience, James. That's not the standard we hold ourselves to. Please call us at (555) 123-4567 so we can make it right."
Try to respond to every review within 48 hours. This shows both Google and future guests that you're actively involved in your business.
Common mistakes to avoid
Forgetting to update holiday hours. A guest showing up to a locked door on a holiday will leave a bad review. Set your special hours ahead of time.
Using a personal phone number. Use your restaurant's main line. If you change your personal number, your listing goes out of date.
Ignoring reviews. Even a simple "thank you" reply shows that a real person is behind the business.
Low-quality photos. Dark, blurry food photos can actually hurt more than having no photos at all. Take 5 minutes to get good lighting.
Keyword-stuffing your business name. "Tony's Pizza - Best Pizza NYC Cheap Pizza Delivery" will get your listing suspended. Just use your real name.
Setting it and forgetting it. Check your profile once a month. Make sure hours are correct, respond to new reviews, and add a fresh photo when you can.
What to do next
Setting up your Google Business Profile takes about 30 minutes (plus the wait for the verification postcard). Once it's live, guests can find you, see your best dishes, read reviews, and reserve a table without ever picking up the phone.
If you haven't set up your bavoli account yet, start here to create your free restaurant page and get your booking link ready. Then come back to this guide and connect the two.


